
Solar lights are a fantastic way to illuminate your garden, pathway, or outdoor space with eco-friendly, cost-effective lighting. However, over time, the solar light stakes that anchor these fixtures into the ground can wear out, crack, or break due to weather exposure, accidental damage, or repeated use. Instead of purchasing expensive replacements or discarding functional solar lights, crafting your own replacement stakes for solar lights is a practical and budget-friendly solution. This comprehensive guide will walk you through the process of creating durable, customized stakes, ensuring your outdoor solar lighting remains both functional and aesthetically pleasing.
Why Replace Solar Light Stakes?
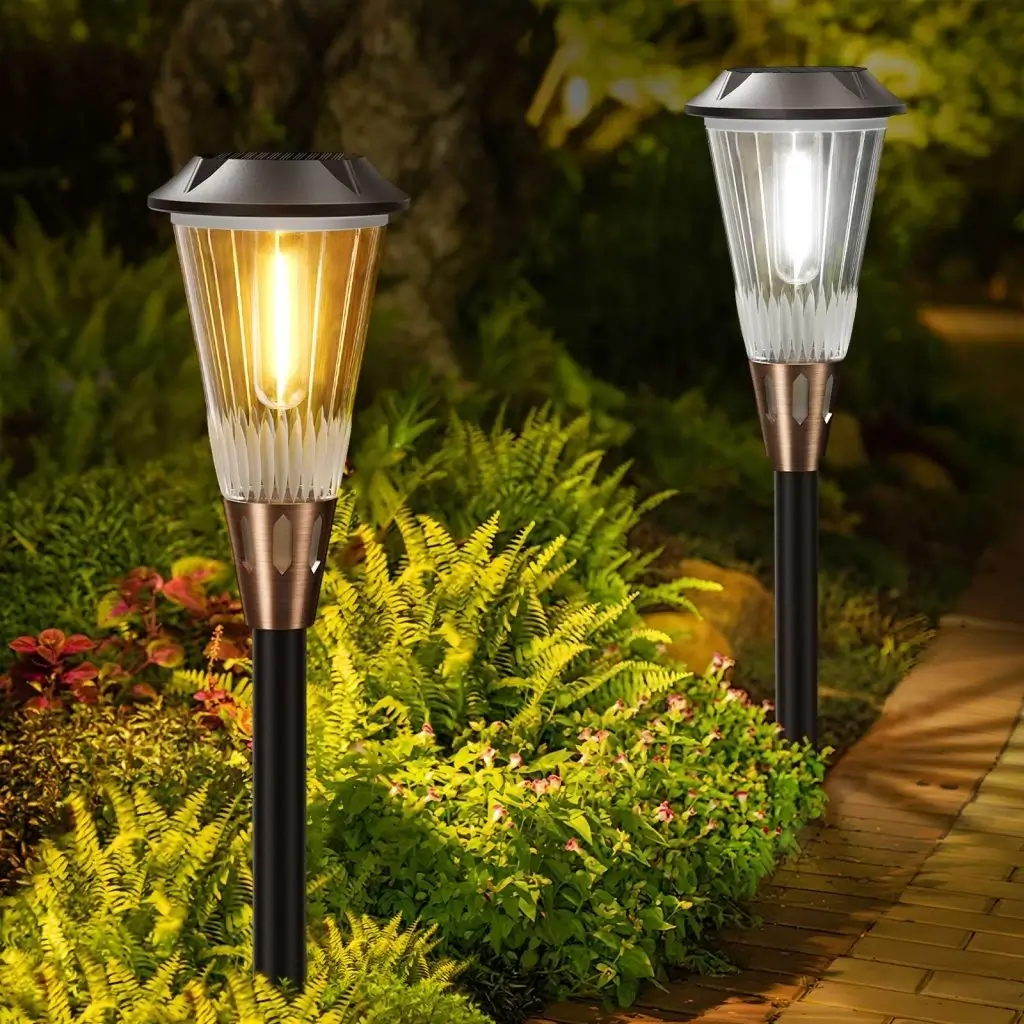
The stakes that come with most solar pathway lights are typically made of plastic, which can become brittle under prolonged sun exposure or crack during harsh winters, especially in regions with freezing ground conditions. Common issues include:
- Physical Damage: Cracks, breaks, or warping that compromise the stake’s ability to hold the light securely.
- Material Degradation: Plastic stakes often degrade due to UV exposure or repeated insertion and removal.
- Instability: Bent or weakened stakes can cause lights to lean or fall, reducing their effectiveness.
By creating your own DIY solar light stakes, you can address these issues with sturdier materials and tailor the design to suit your specific needs, such as deeper ground penetration for soft soil or a custom aesthetic to match your garden decor.
Materials and Tools Needed
Before diving into the process, gather the following materials and tools to ensure a smooth solar light stake replacement project:
- PVC Pipe: Choose a diameter that matches or slightly exceeds the original stake for compatibility with the light fixture. A ½-inch or ¾-inch PVC pipe is often ideal.
- Wooden Dowel: Select a dowel that fits snugly inside the PVC pipe or directly into the solar light’s housing.
- Metal Rods or Rebar: For a more durable option, consider 12-inch metal rods or rebar for heavier fixtures.
- Hacksaw or PVC Cutter: For cutting materials to the desired length.
- Sandpaper: To smooth rough edges for safety and a polished finish.
- Screws or Outdoor-Rated Adhesive: For securing the stake to the light fixture.
- Spray Paint (Optional): Use outdoor-rated paint for aesthetic customization.
- Measuring Tape and Marker: For precise measurements.
- Drill (Optional): For creating attachment points.
- Rubber Mallet: For driving stakes into the ground without damage.
These materials are widely available at hardware stores or can be sourced from household items, making this a cost-effective project.
Step-by-Step Guide to Making Replacement Stakes
Step 1: Assess Your Solar Lights
Before crafting new stakes, inspect your solar garden lights to determine the cause of instability. Check for visible cracks, rust (in metal stakes), or loose fittings. Measure the length and diameter of the original stake to ensure compatibility with the light’s housing. This step is crucial to avoid mismatches that could affect stability or charging efficiency.
Step 2: Choose Your Material
Selecting the right material is key to creating durable solar light stakes. Here are three popular options:
- PVC Pipe: Lightweight, affordable, and weather-resistant, PVC is a versatile choice. It’s easy to cut and customize, making it ideal for most solar pathway lights.
- Wooden Dowel: A budget-friendly option, especially if you have spare dowels at home. However, wood is less durable than PVC or metal and may require replacement sooner, especially in wet climates.
- Metal Rods or Rebar: For heavy-duty solar flood lights or areas with soft soil, metal stakes provide superior strength and longevity. Aluminum or galvanized steel resists corrosion effectively.
For example, a 5/8-inch wooden dowel cut to 9-10 inches can work for lightweight lights, while 12-inch rebar is better for heavier fixtures or loose soil.
Step 3: Measure and Cut the Stakes
Using a measuring tape, determine the desired length of your replacement stakes. A typical length ranges from 6 to 12 inches, depending on the light’s weight and soil conditions. Mark the length on your chosen material and cut using a hacksaw or PVC cutter. For wooden dowels, ensure the length is slightly shorter if used inside PVC for a snug fit. Sand the cut ends with sandpaper to smooth rough edges, ensuring safe handling and a professional look.
Step 4: Shape the Stake for Ground Insertion
To make ground insertion easier, taper one end of the stake into a point. For PVC or wood, use sandpaper or a knife to create a gradual taper. For metal rods, a grinder can help shape the tip, but wear protective gear to avoid injury. A pointed end reduces resistance when driving the stake into the soil, especially in compact or rocky ground.
Step 5: Attach the Stake to the Solar Light
Align the top of the stake with the light fixture’s attachment points. If the original stake used screws, drill corresponding holes in the new stake and secure it with screws, ensuring a tight fit. For adhesive-based fixtures, apply outdoor-rated adhesive to the top of the stake and press the fixture firmly in place. Allow the adhesive to dry completely (typically 24 hours) before installation. Double-check alignment to ensure the solar light repair maintains stability.
Step 6: Optional Customization
To enhance the aesthetic appeal of your solar light ground stakes, consider painting them with outdoor-rated spray paint. Choose colors that blend with your garden or add a pop of vibrancy. Apply thin, even coats, allowing each to dry before adding the next. For extra durability, seal the paint with a clear outdoor sealant to protect against UV rays and moisture.
Step 7: Install the Stakes
Prepare the soil by watering it lightly to soften compact ground, using a garden fork or shovel if necessary. Drive the stake into the ground using a rubber mallet to avoid damage. Ensure the stake is inserted deep enough (6-9 inches) for stability, especially for heavier solar landscape lights. Attach the solar light fixture to the stake and test its stability by gently pressing down. Adjust as needed to achieve a secure setup.
Tips for Long-Lasting Replacement Stakes
- Regular Inspections: Periodically check stakes for wear, cracks, or loosening to maintain stability.
- Weatherproofing: Use corrosion-resistant materials like galvanized metal or sealed wood to withstand rain, snow, and UV exposure.
- Soil Preparation: Soften hard soil before installation to prevent stake damage. Avoid forcing stakes into unprepared ground.
- Stabilizing Sleeves: For soft or sandy soil, add a PVC sleeve around the stake’s base to enhance stability.
Common Mistakes to Avoid
- Incorrect Sizing: Ensure the stake’s diameter matches the light’s housing to avoid wobbling. Measure carefully or bring the light to the hardware store for comparison.
- Skipping Sanding: Rough edges can cause injury or poor fit. Always sand cut ends for safety and precision.
- Using Non-Durable Materials: Avoid untreated wood in wet climates, as it rots quickly. Opt for weather-resistant materials like PVC or metal.
- Overlooking Soil Conditions: Hard or rocky soil can bend or break stakes if not prepared properly. Soften the ground and taper the stake’s end for easier insertion.
Alternative Solutions for Enhanced Stability
If DIY solar light stakes still lean over time, consider these alternatives:
- Metal Stakes: Commercial metal stakes, such as those made of aluminum alloy, offer superior durability and weather resistance. They’re ideal for solar lights outdoor in harsh climates.
- Fence Post Caps: For very heavy lights, replace stakes with fence post caps to provide a wider base and better stability.
- PVC Sleeve Method: Insert the solar light’s stake into a longer PVC pipe driven deep into the ground. This method is particularly effective in soft soil, as demonstrated by a homeowner who used 3-foot PVC pipes for three years without issues.
Environmental and Cost Benefits
Crafting your own solar light stake replacement not only saves money but also reduces waste by extending the life of your solar lights. Store-bought replacement stakes can cost $5-$15 per pack, while DIY materials like PVC or dowels are often under $5 for multiple stakes. Additionally, repurposing household materials aligns with sustainable practices, minimizing the need for new purchases and reducing your environmental footprint.
Conclusion
Creating replacement stakes for solar lights is a straightforward, rewarding DIY project that restores functionality to your outdoor solar lighting while allowing for customization. By choosing durable materials, measuring carefully, and preparing the soil, you can craft stakes that outlast the originals and enhance your garden’s aesthetic. Whether you opt for PVC, wood, or metal, this guide equips you with the knowledge to keep your solar pathway lights shining brightly for years to come. So, grab your tools, unleash your creativity, and give your solar lights the sturdy foundation they deserve.
Leave a Reply