
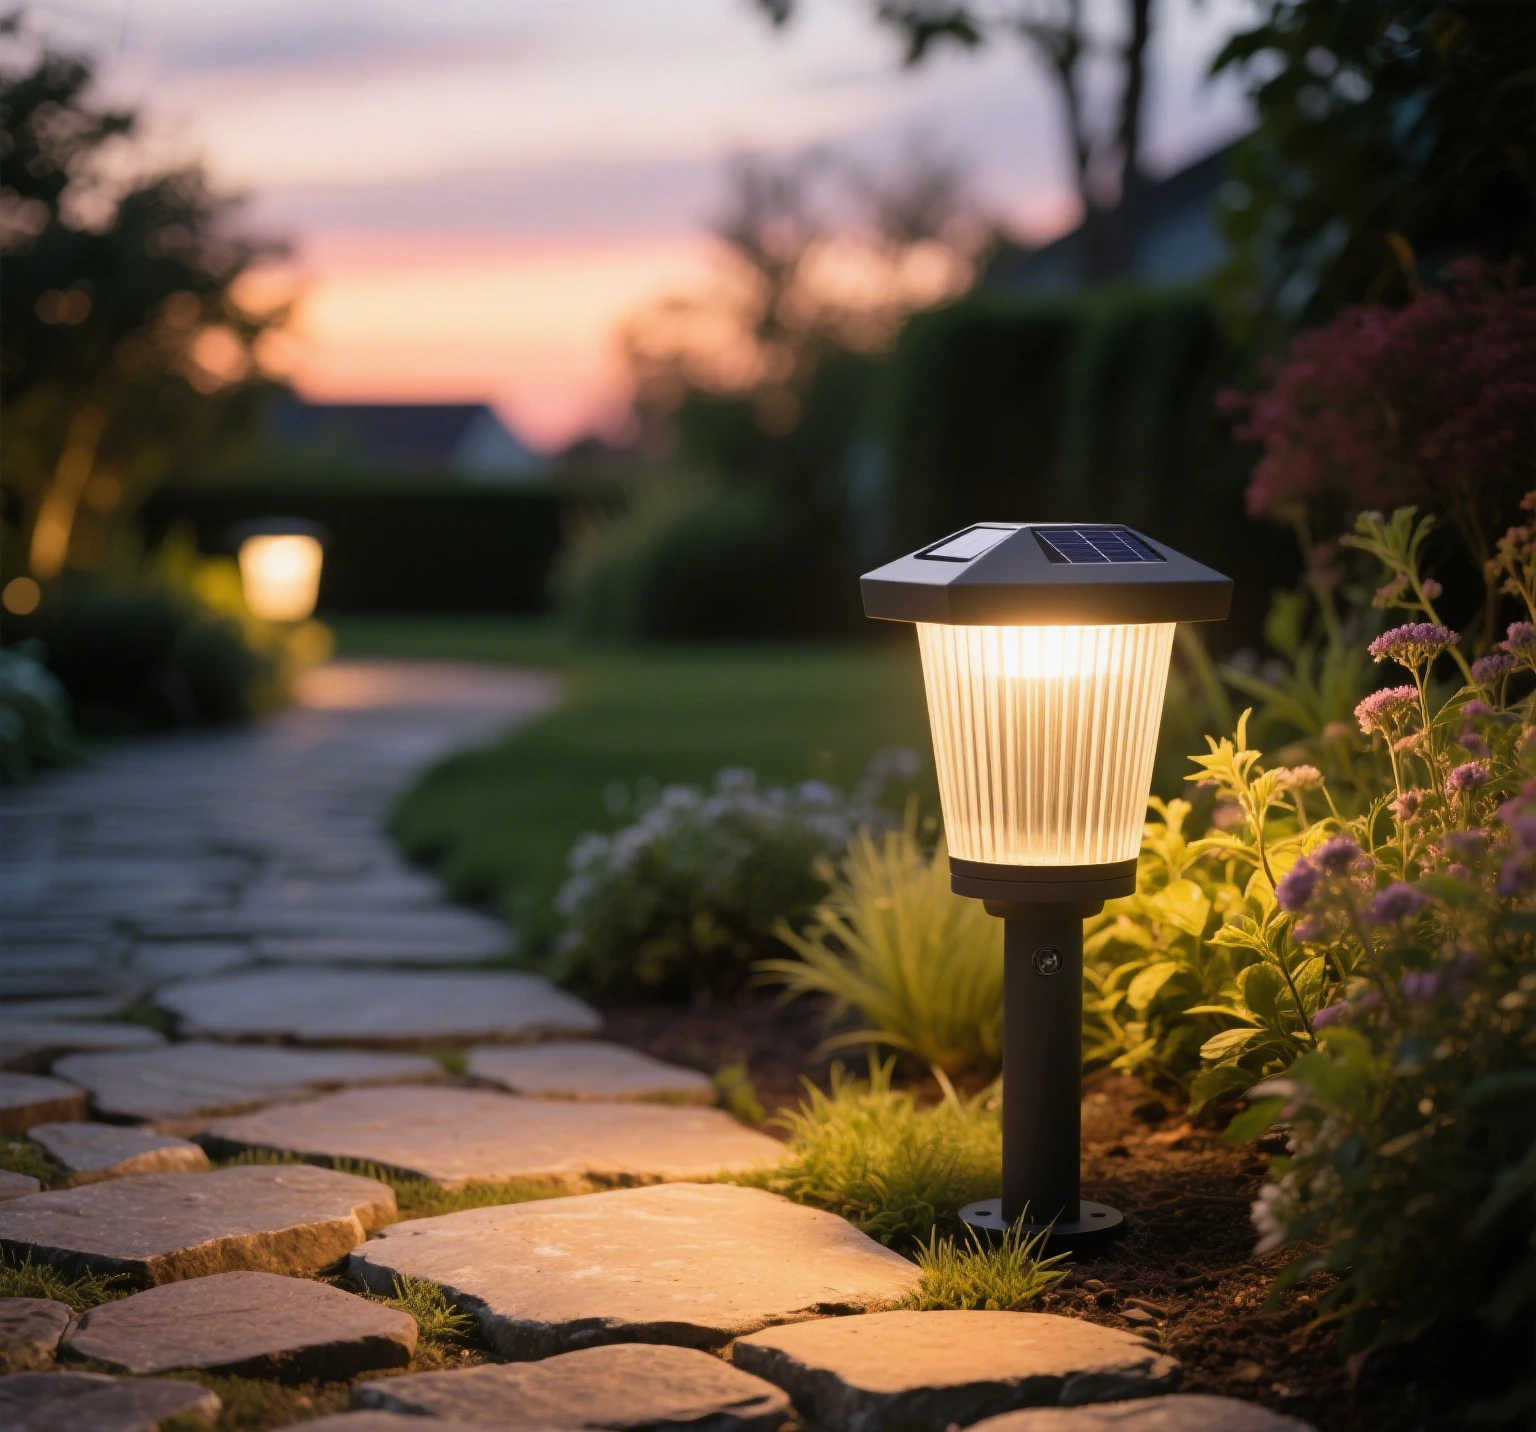
In modern landscape design, courtyard lights have become an indispensable element. They not only serve a practical lighting function but also act as aesthetically pleasing landscape features, seamlessly blending with the historical and cultural essence of a site and its surrounding environment. They add unique charm to spaces such as courtyards, parks, and residential communities. So, what are the key points and practical techniques for installing courtyard lights?
1. Comprehensive Planning and Preparation Before Installation
(1) Determining Installation Locations and Layout
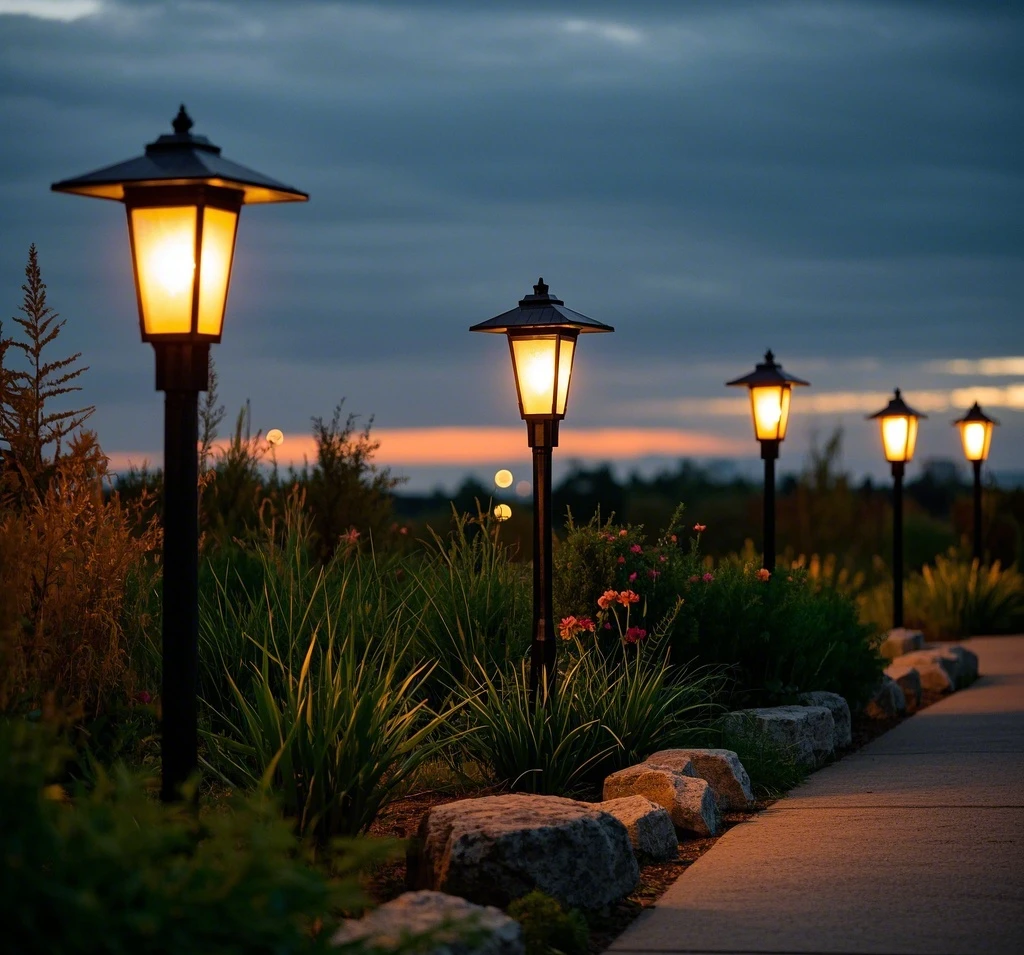
Before installing courtyard lights, detailed planning of the installation area is essential. Based on the overall design style, functional zoning, and pedestrian pathways of the courtyard or landscape, determine the appropriate locations for the lights. For example, along garden paths, courtyard lights should be evenly spaced, typically 3–5 meters apart, to ensure no dark spots. In leisure areas, lights can be placed around seating areas to provide illumination and create a warm ambiance. Refer to standards such as Landscape Lighting Design Standards (GB/T 50034-2013) to ensure the layout meets safety and lighting requirements.
Additionally, consider environmental factors to avoid placing lights under large trees or in areas shaded by buildings, as this can affect light exposure—especially critical for solar-powered courtyard lights, which require ample sunlight to function properly. Professional landscape design software like SketchUp or Lumion can be used to simulate the lighting layout, allowing you to preview the lighting effects and overall aesthetics.
(2) Selecting Light Fixtures and Quality Inspection
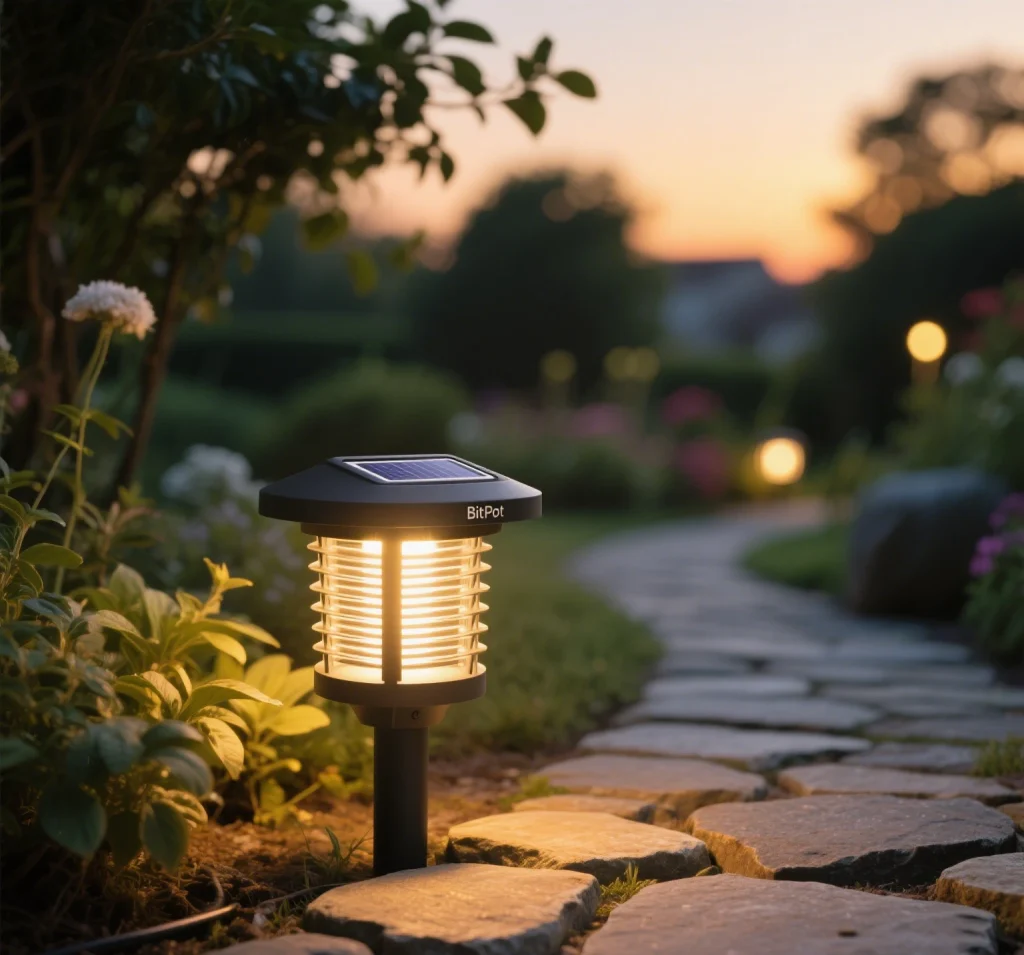
Choose the appropriate type of courtyard light based on the needs and design style of the installation area. Courtyard lights come in various materials (e.g., metal like stainless steel or cast aluminum, glass, or resin) and light sources (e.g., LED or energy-saving bulbs). LED lights, known for their energy efficiency, long lifespan, and high brightness, are the mainstream choice for courtyard lights today. For instance, Solar Lighting World magazine notes that LED courtyard lights consume only one-tenth the energy of traditional incandescent bulbs and can last over 50,000 hours.
After selecting fixtures, conduct a thorough quality inspection. Check for damage or scratches on the fixture’s exterior, ensure the lampshade is properly sealed, and verify that the pole is straight and undeformed. For solar courtyard lights, inspect the solar panel surface for cleanliness and cracks, and ensure secure wiring to guarantee efficient photoelectric conversion. Verify that the product comes with a certificate of conformity and user manual, confirming compliance with national and industry standards.
(3) Preparing Materials and Tools
Prepare all necessary materials, including wires, cables, terminal connectors, expansion bolts, and waterproof tape. Select wire and cable specifications based on the fixture’s power and installation distance. For low-power courtyard lights, 1.5 mm² copper-core wires are sufficient, while higher-power lights or longer distances may require 2.5 mm² or larger wires to ensure stable power transmission.
Installation tools include an electric drill, wrench, screwdriver, voltage tester, and multimeter. For solar courtyard lights, a spirit level is needed to ensure the solar panel is installed at the correct angle for optimal sunlight exposure.
2. Specific Installation Steps for Courtyard Lights
(1) Foundation Construction
Digging the Pit: Based on the lamp pole specifications and installation requirements, use a shovel or digging machine to excavate a pit at the designated location. The pit should typically be 50–80 cm deep and 30–50 cm in diameter, with specific dimensions outlined in the fixture’s installation manual. Ensure the pit bottom is level to avoid unevenness.
Pouring the Base: Place a steel reinforcement framework in the pit to enhance the base’s stability. Then, pour concrete into the pit, using a mix ratio of cement:sand:gravel = 1:2:3. Use a vibrating rod or similar tool to compact the concrete, ensuring a smooth base surface. Before the concrete fully sets, embed anchor bolts into the base according to the fixture’s requirements, ensuring the exposed length of the bolts meets specifications with an error of no more than ±2 mm.
Curing: After pouring, cure the base by covering it with plastic film or wet straw mats and watering it daily to maintain moisture. Cure for at least 7 days until the concrete reaches the required strength before proceeding with fixture installation.
(2) Fixture Installation
Assembling the Pole: Assemble the lamp pole, light fixture, and solar panel (for solar lights) according to the manual. During assembly, ensure screws are tightened appropriately to avoid damaging components or compromising stability. For solar courtyard lights, mount the solar panel at the top of the pole, facing true south (in the Northern Hemisphere), with an installation angle typically set to the local latitude ±10° for optimal sunlight capture.
Installing the Fixture: Erect the assembled pole on the base and use a wrench to secure the anchor bolts to the pole’s flange. Ensure the pole is vertical, with a verticality error not exceeding 0.5% of the pole’s height. Attach the light fixture to the pole, connect the wires securely, and wrap them with waterproof tape to prevent water ingress and short circuits.
Wiring: For mains-powered courtyard lights, thread the wires through the base of the pole and connect them to pre-buried underground cables. Follow the correct sequence for live, neutral, and ground wires to ensure proper connection. Use terminal connectors to secure the wires and wrap them with waterproof and insulating tape. For solar courtyard lights, connect the solar panel wires to the controller and battery as per the manual, ensuring correct circuit connections.
(3) Testing and Inspection
Circuit Testing: Use a voltage tester or multimeter to check the circuit, verifying that it is powered and the voltage is normal. For solar courtyard lights, test the solar panel’s output voltage, as well as the battery’s charging and discharging voltages, to ensure they are within normal ranges.
Lighting Testing: Turn on the power and activate the courtyard light to check if it illuminates properly and if the light angle meets requirements. For solar lights, after sufficient daylight exposure, verify that the light automatically turns on at night and off during the day, confirming the light control function. Ensure the brightness is uniform without flickering or other anomalies.
Stability Check: Inspect the pole for firmness and check for any wobbling. Gently shake the pole to assess its stability; if it moves, retighten the anchor bolts or reinforce the base.
3. Precautions During Installation
(1) Safety Regulations
Strictly adhere to electrical safety regulations during installation. Disconnect the power supply before performing wiring operations to prevent electric shock. Use certified electrical tools and materials, avoiding aged or damaged wires and cables.
For lights installed at heights, use appropriate climbing equipment such as ladders or scaffolding, ensuring their stability and safety. Operators should wear safety harnesses to prevent falls.
Protect the surrounding environment and facilities during installation, avoiding damage to plants, trees, or buildings.
(2) Attention to Detail
The installation height of courtyard lights should comply with relevant standards and design requirements, typically ranging from 2–4 meters, adjusted based on the area’s function and needs. For example, lights for garden paths can be 2–2.5 meters tall, while those for open areas like plazas can be 3–4 meters.
Adjust the fixture’s installation angle to meet lighting needs, ensuring effective illumination of the target area while avoiding glare from direct light into people’s eyes. For solar courtyard lights, regularly clean dust, leaves, or debris from the solar panel to maintain optimal light capture.
During installation, ensure proper wire and cable routing. Protect wires and cables with conduits (e.g., PVC or metal pipes) to prevent exposure to outdoor elements, which can cause aging or damage. Select conduit sizes based on wire and cable specifications to ensure smooth threading.
Conclusion
By following the detailed planning, steps, and precautions outlined above, you can gain a comprehensive understanding of how to effectively install courtyard lights. During the actual installation process, adhere strictly to regulations and pay attention to every detail to create courtyard lights that are both aesthetically pleasing and functional, adding unique charm to courtyards and landscapes.
Leave a Reply