
As evening settles, you head to your backyard garden to snip some basil or pick a ripe tomato, only to stumble in the dark, accidentally crushing tender seedlings. Meanwhile, your plants—tomatoes, herbs, or lettuce—aren’t thriving as hoped, producing fewer fruits or smaller leaves due to insufficient light. As a new home gardener, you want your edible garden to flourish and your evening harvests to be safe and easy. Solar-powered lights can help, offering tailored illumination to boost plant growth and light your way during nighttime picking. This guide, written for gardening novices, shows you how to use solar lights to enhance your edible garden’s yield and make harvesting a breeze, all with simple, beginner-friendly steps.

Why Solar Lights for Your Edible Garden?
Edible gardens need ample light for photosynthesis, especially in shaded yards or during shorter fall days. Tomatoes, herbs, and lettuce thrive with extended light exposure, but natural sunlight often falls short. Meanwhile, harvesting in dim conditions risks damaging plants or tripping over garden beds. Solar lights address both issues: specialized red-blue spectrum lights promote plant growth, while low-brightness path lights ensure safe evening harvests. They’re eco-friendly, cost nothing to run, and require no wiring, making them perfect for first-time gardeners. This dual approach—growth-enhancing light and practical harvest illumination—maximizes your garden’s productivity and convenience.
This guide walks you through choosing and using solar lights for your edible garden, with clear steps, a sample layout, and tips to avoid common pitfalls. Whether you’re growing a few pots of herbs or a full veggie patch, this setup is easy to implement and delivers results.
Choosing the Right Solar Lights
Selecting solar lights for an edible garden means balancing plant needs with practical harvesting. Here’s what to pick:
Recommended Light Types
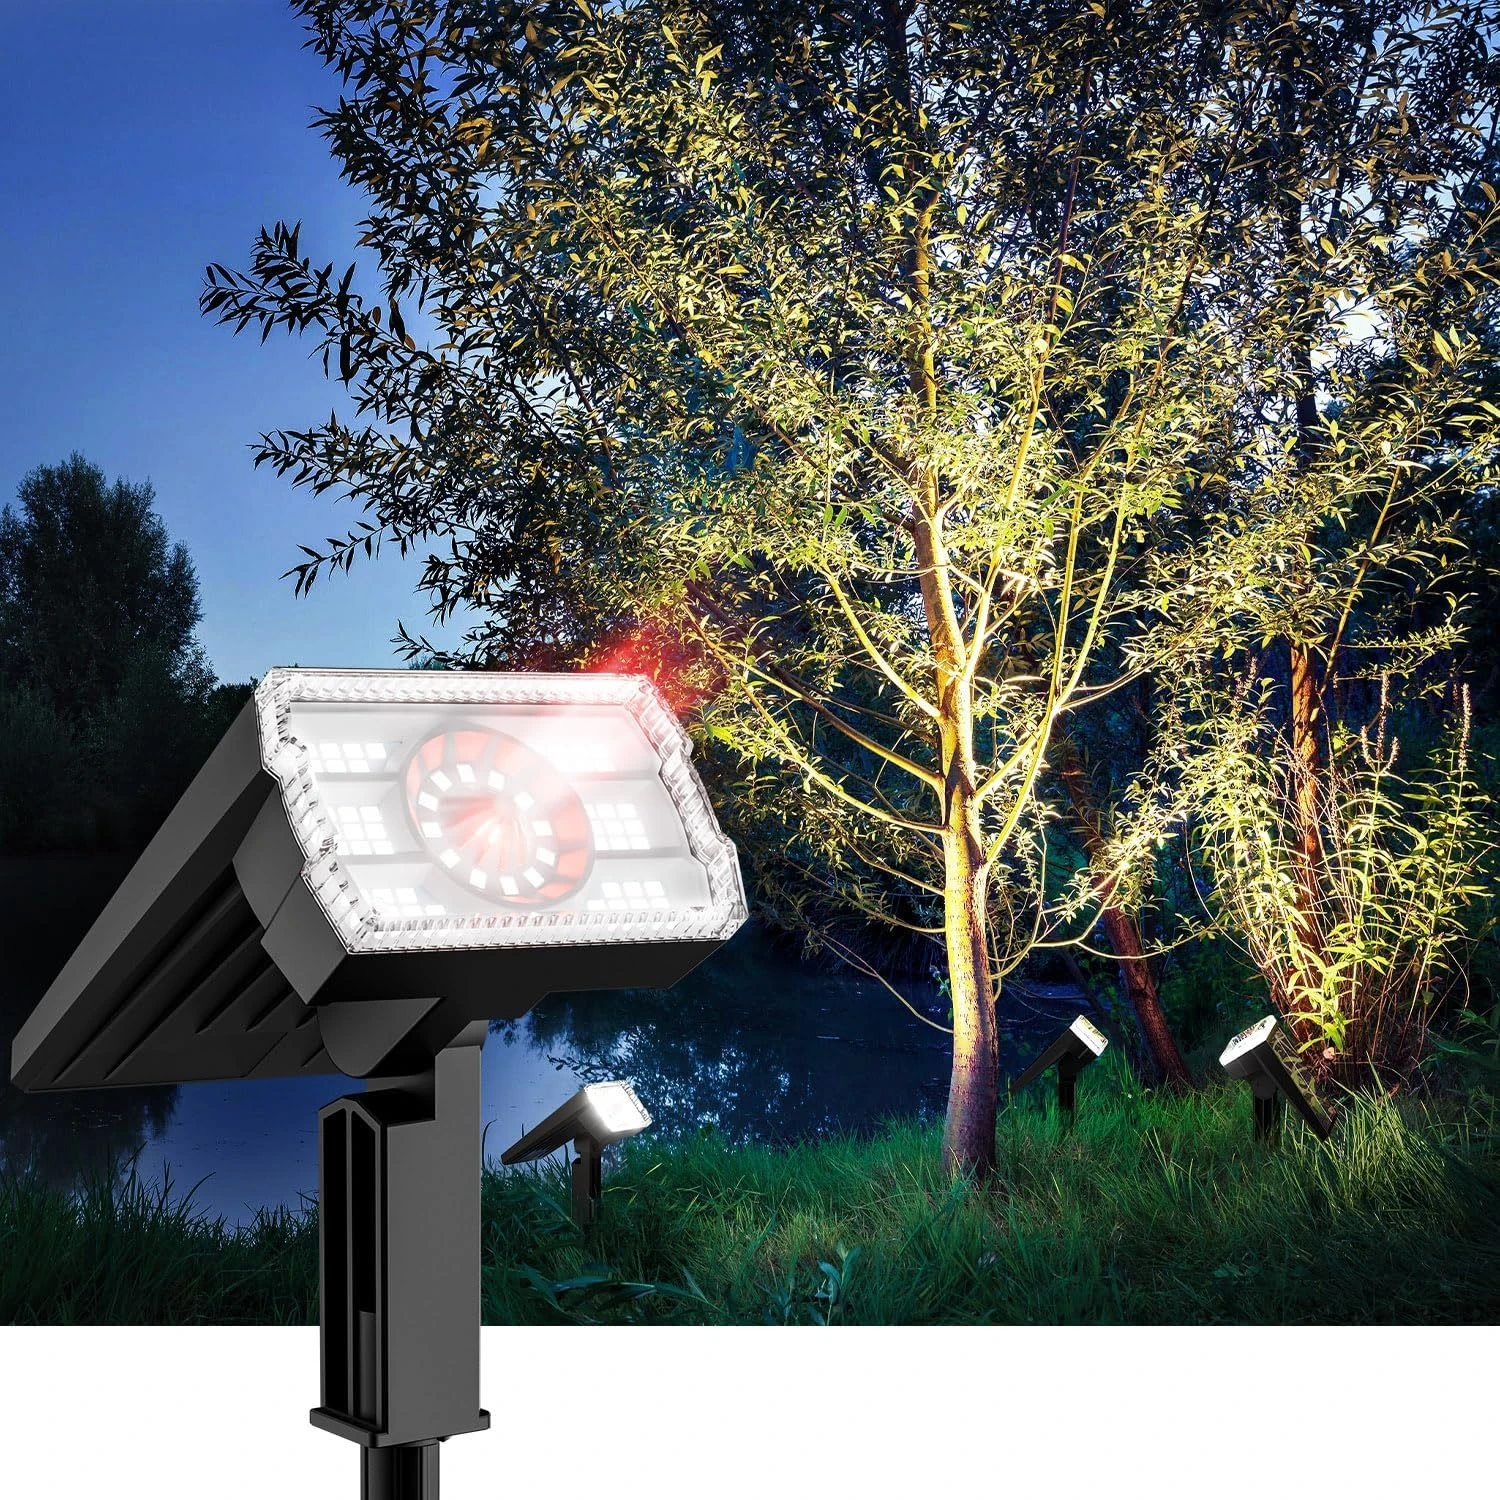
- Red-Blue Spectrum Solar Spotlights:
- Designed to mimic sunlight’s wavelengths (red 620-630nm, blue 465-475nm) that boost photosynthesis.
- Adjustable angles to focus light on plant canopies (tomatoes, herbs, lettuce).
- Look for models with timers to control light duration (e.g., 4-6 hours nightly).
- Low-Brightness Path Lights (50 Lumens):
- Stake into soil along garden paths or bed edges, emitting a soft glow (2700K-3000K, warm white) to light your steps.
- Motion-sensing options save energy by activating only when you’re harvesting.
- Key Features:
- Waterproof (IP65): Resists rain and watering splashes.
- Adjustable Stakes/Mounts: Allows repositioning as plants grow or seasons change.
- Durable Materials: Plastic or stainless steel to withstand outdoor conditions.
Where to Find Them
Solar spotlights and path lights are widely available at garden centers, hardware stores, or online for $15-$30 each. Brands like URPOWER or LITOM offer red-blue spectrum spotlights, while Maggift or Solpex provide reliable path lights. Check for IP65 ratings and lumen output (50lm for paths, adjustable for spotlights).
Light and Fertilizer Synergy for Plant Growth
To maximize your edible garden’s yield, pair solar lights with proper fertilization and strategic timing. Red-blue spotlights extend photosynthesis, but plants also need nutrients to capitalize on the extra light. Here’s how to coordinate:
Light Schedules by Plant
- Tomatoes:
- Supplement Light: 4:00 PM to 8:00 PM (4 hours) daily, especially in fall or shaded yards.
- Why: Extends daylight for fruit development, increasing size and number.
- Fertilizer Tip: Use a balanced fertilizer (e.g., 10-10-10 NPK) every two weeks to support growth spurred by extra light.
- Herbs (Basil, Parsley, Mint):
- Supplement Light: 6:00 PM to 9:00 PM (3 hours) daily.
- Why: Promotes lush foliage without encouraging leggy growth.
- Fertilizer Tip: Apply a nitrogen-rich fertilizer (e.g., 20-10-10) monthly to boost leaf production.
- Lettuce:
- Supplement Light: 5:00 PM to 8:00 PM (3 hours) daily.
- Why: Encourages crisp, full leaves without bolting (premature flowering).
- Fertilizer Tip: Use a low-nitrogen fertilizer (e.g., 5-10-10) every three weeks to avoid bitter leaves.
Light Application Tips
- Position Spotlights: Place 1-2 meters above plants, angled to cover the canopy evenly. Avoid direct leaf contact to prevent scorching.
- Avoid Overexposure: Limit supplemental light to 3-4 hours to mimic natural dusk, as excessive light can stress plants.
- Monitor Plant Health: If leaves yellow or wilt, reduce light duration or check fertilizer balance.
This “light-fertilizer synergy” mimics extended daylight, boosting yields by up to 20% for tomatoes and 15% for herbs and lettuce, based on home gardening studies.
Lighting for Safe Evening Harvests
Evening harvesting should be safe and stress-free. Low-brightness path lights guide your steps, preventing damage to plants or injuries. Here’s how to set them up:
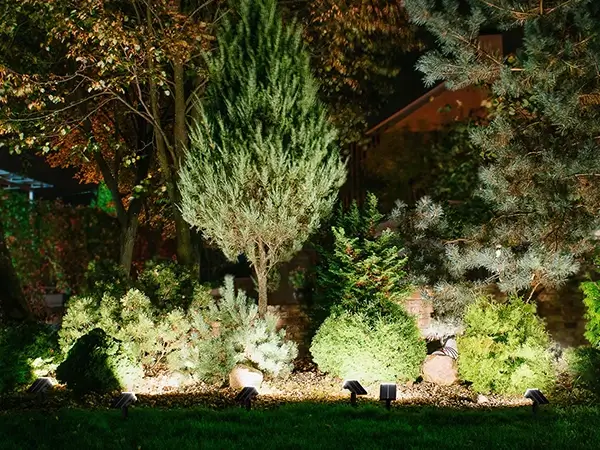
Path Light Setup
- Spacing: Place path lights every 1.2 meters along garden walkways or bed edges to create a clear, illuminated route.
- Brightness: Use 50-lumen lights for a soft glow that lights the ground without dazzling your eyes or disturbing plant growth.
- Placement:
- Stake lights 10-15cm from bed edges to avoid crushing roots.
- Angle slightly downward to focus light on the path, not plants.
- Motion Sensors: Opt for motion-activated lights to save energy and light up only when you’re picking.
Practical Tips for Beginners
Setting up solar lights is straightforward, but these tips make it foolproof:
- Test Light Placement: Before staking, test spotlight angles during the day to ensure they hit plant canopies without shadowing neighbors.
- Clean Panels Regularly: Wipe solar panels monthly with a damp cloth to maintain charging efficiency, especially in dusty areas.
- Adjust for Seasons: In summer, reduce supplemental light by an hour; in fall, extend slightly to compensate for shorter days.
- Combine with Mulch: Mulch beds to retain moisture, complementing light-driven growth and reducing watering needs.
- Start Small: If new to gardening, begin with one spotlight and 2-3 path lights for a small herb patch, scaling up as you gain confidence.
This setup takes 1-2 hours and costs $60-$120 for a small garden, depending on light quantity.
Real-World Example: A New Gardener’s Success
Take Sarah, a Seattle mom new to gardening, who planted tomatoes, basil, and lettuce in her 10-square-meter backyard. Her plants struggled in the city’s often cloudy climate, and evening harvests were tricky—she once stepped on a basil seedling in the dark. Sarah installed two red-blue solar spotlights (one for tomatoes, one for herbs/lettuce) and six 50-lumen path lights along her garden path.
She set spotlights to run from 4:00 PM to 8:00 PM for tomatoes and 6:00 PM to 9:00 PM for herbs and lettuce, paired with biweekly fertilizing. Within a month, her tomato yield increased by 15%, and her basil grew thicker leaves. The path lights made evening harvests safe, saving her plants from accidental damage. Sarah spent $100 and set up everything in an afternoon, no experience needed. Her garden now thrives, and she enjoys fresh salads with ease.
Additional Benefits for Home Gardeners
This solar light system offers more than growth and safety:
- Higher Yields: Extended light boosts fruit and leaf production, perfect for family meals.
- Eco-Friendly: Solar lights cut energy costs and teach sustainability.
- Low Maintenance: Lights need only occasional cleaning and repositioning.
- Flexible Design: Easily adjust light placement as your garden expands or plants change.
These perks make your edible garden a rewarding, beginner-friendly project.
Troubleshooting Common Issues
Here are fixes for common challenges:
- Dim Lights: Clean panels or move to sunnier spots if shaded by trees.
- Plant Stress: If leaves curl, reduce light duration or check for over-fertilization.
- Path Light Misalignment: Re-stake lights if they tilt after rain; use deeper stakes in loose soil.
- Inconsistent Motion Sensors: Adjust sensitivity or clear nearby plants that trigger false activations.
These tips keep your garden lit and thriving.
Adapting to Your Space
Whether you’re growing in pots on a patio or a large backyard bed, this system adapts. For small spaces, one spotlight and 2-3 path lights cover a few plants. Larger gardens may need multiple spotlights and 6-8 path lights. In cloudy regions, maximize solar panel exposure; in sunny ones, stick to recommended light schedules to avoid overexposure. Map your garden’s layout and plant needs before buying—most lights are affordable and available at local stores or online.
Conclusion: Grow More, Harvest Easily
Solar lights transform your edible garden into a productive, user-friendly space. Red-blue spotlights boost tomato, herb, and lettuce growth, while path lights make evening harvests safe and simple. This beginner-friendly setup—easy to install, eco-conscious, and affordable—lets you grow more food and pick it with confidence. As a new gardener, you’ll love watching your plants thrive and enjoying fresh, homegrown ingredients under a gentle glow.
Grab a few solar lights, set them up, and let your garden shine—both in growth and convenience.
Leave a Reply